With the Salesforce connector you can connect your PBX with Salesforce. It enables you to display a customer’s contact information when he or she calls you. This way you will have all necessary information ready at the moment you take the call.
Step 1. Configure your SalesForce instance
If you have already used connected apps before, you should know your security token. If your IP is whitelisted (added to the trusted IP ranges) in Salesforce, you can skip this section and go to the creation of the Connected App. Otherwise, you can either whitelist your IP or reset your security token and receive a new value via account configured email (please note that any connected app using your old security token will have to update it in this case).
Step 2. Getting your security token
- To reset it, go to My Settings from your user account.
- On the right panel, expand Personal tab and click on Reset My Security Token setting.
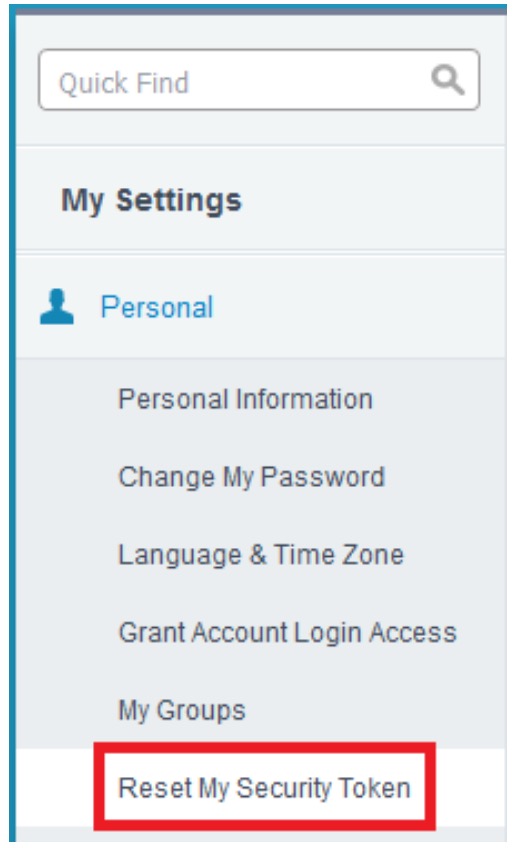
- In the Reset my security token page, click on the Reset my token button.
 You will now receive your security token in the email account configured at your Salesforce account.
Step 3. Whitelisting your IP
You can whitelist your IP in Salesforce and leave the security token setting empty. Below are the steps to whitelist your IP in Salesforce.
- To find out your IP, you can google what is my ip or go to http://www.whatismyip.com
- Click on Setup button in the top right corner of your account.

- In the right panel, look for the Administer section, expand the Security Controls tab and click on Network Access.
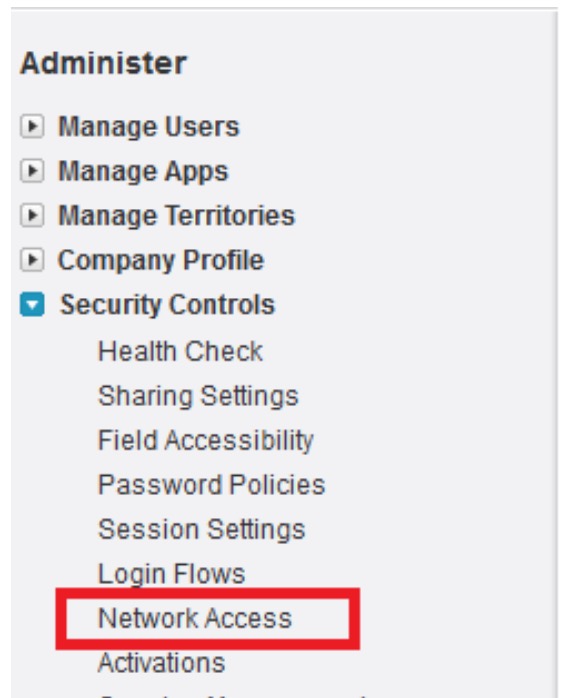
- In the Network Access page, click on the New button from the Trusted IP Ranges table to add an IP or IP range.

- Enter Start and End IP for range or your IP in both fields for a single IP. You can optionally set a description of the IPs or the reason you added them and press the Save button.

Your IP should now appear in the Trusted IP Ranges table.
Step 4. Create a connected app on the salesforce instance
Take into account the following steps in order to create a connected app on the salesforce instance.
- Click on Setup button in the top right corner of your account.
- On the right panel, go to the Build tab, expand Create and click Apps.
- In the Connected Apps section, you can view connected apps to your account.
- Note: If there is already a connected app with the Selected OAuth Scopes of type Access and manage your data (api) or Full access (full) for UCManager, you can skip creating a new one and go to step 6. Otherwise, click on New button.

- Note: If there is already a connected app with the Selected OAuth Scopes of type Access and manage your data (api) or Full access (full) for UCManager, you can skip creating a new one and go to step 6. Otherwise, click on New button.
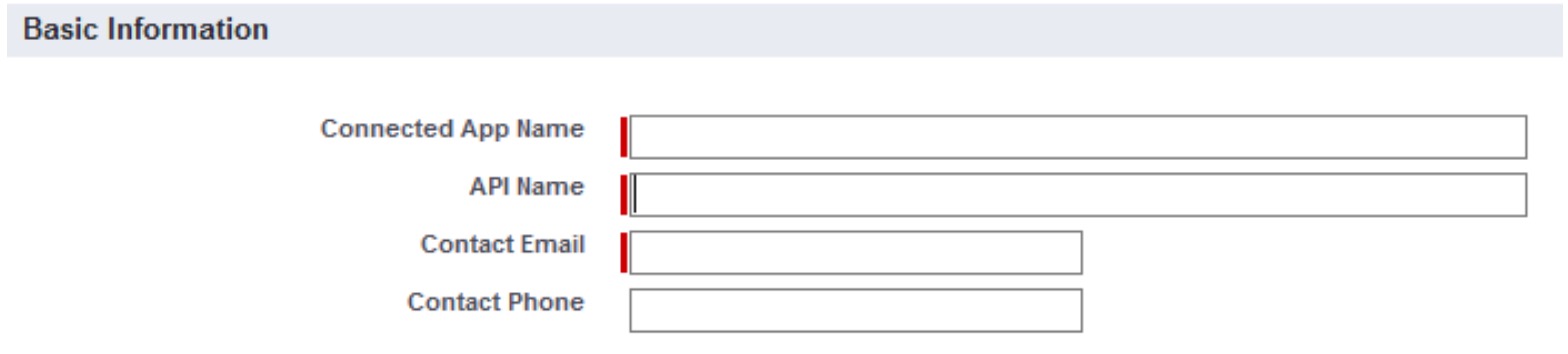
- Fill in mandatory fields in the Basic Information section (marked with red):
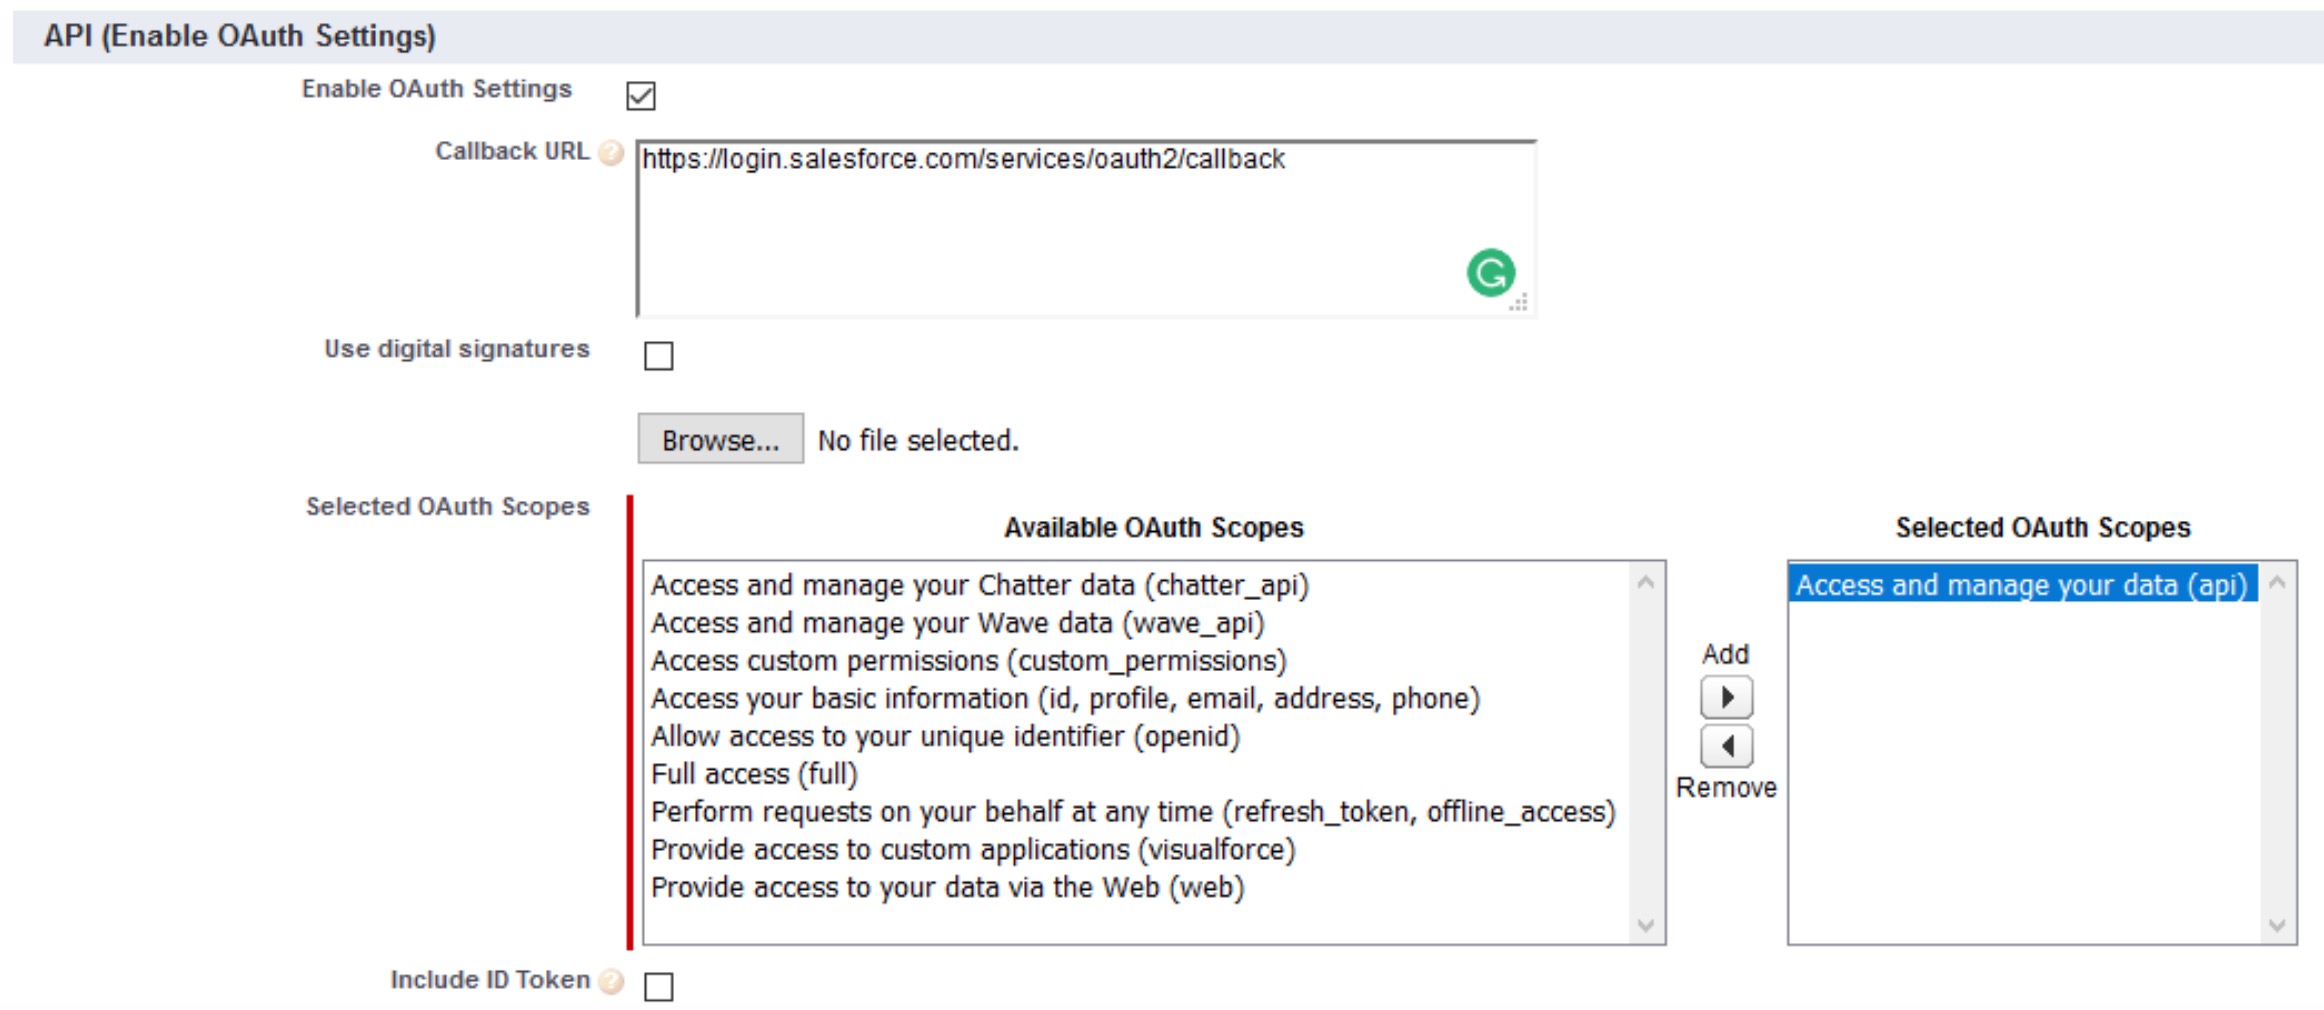
- In the API (Enable OAuth Settings), check the Enable OAuth Settings and fill in the following details as in the below image:
- Callback URL: https://login.salesforce.com/services/oauth2/callback
- Selected OAuth Scopes: Access and manage your data (api)
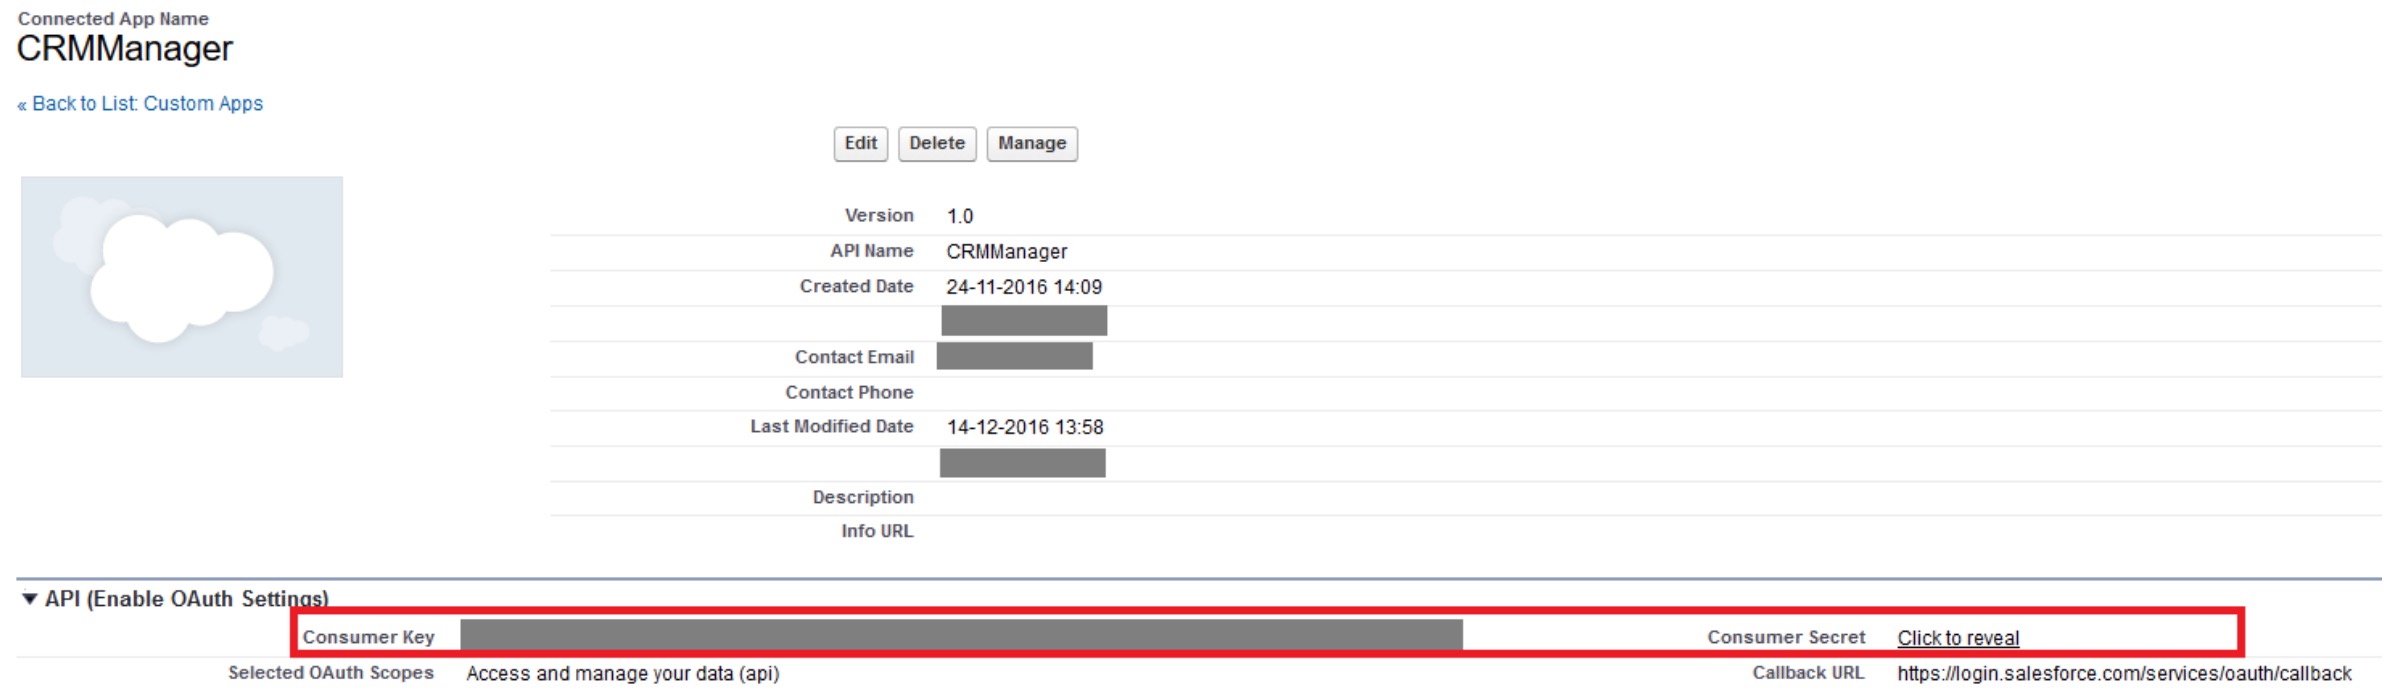
- After saving the Connected App, you will receive a Consumer Key and Consumer Secret that you can use for UCManager Salesforce integration. You can view this by clicking on the Connected App name and will see something similar like below screenshot:
Step 5. Install UCManager v1.2.7 (or later)
If you haven’t already; in order to install the UCManager, run the UC Manager setup file which you can find here.
Step 6. Configure UCManager
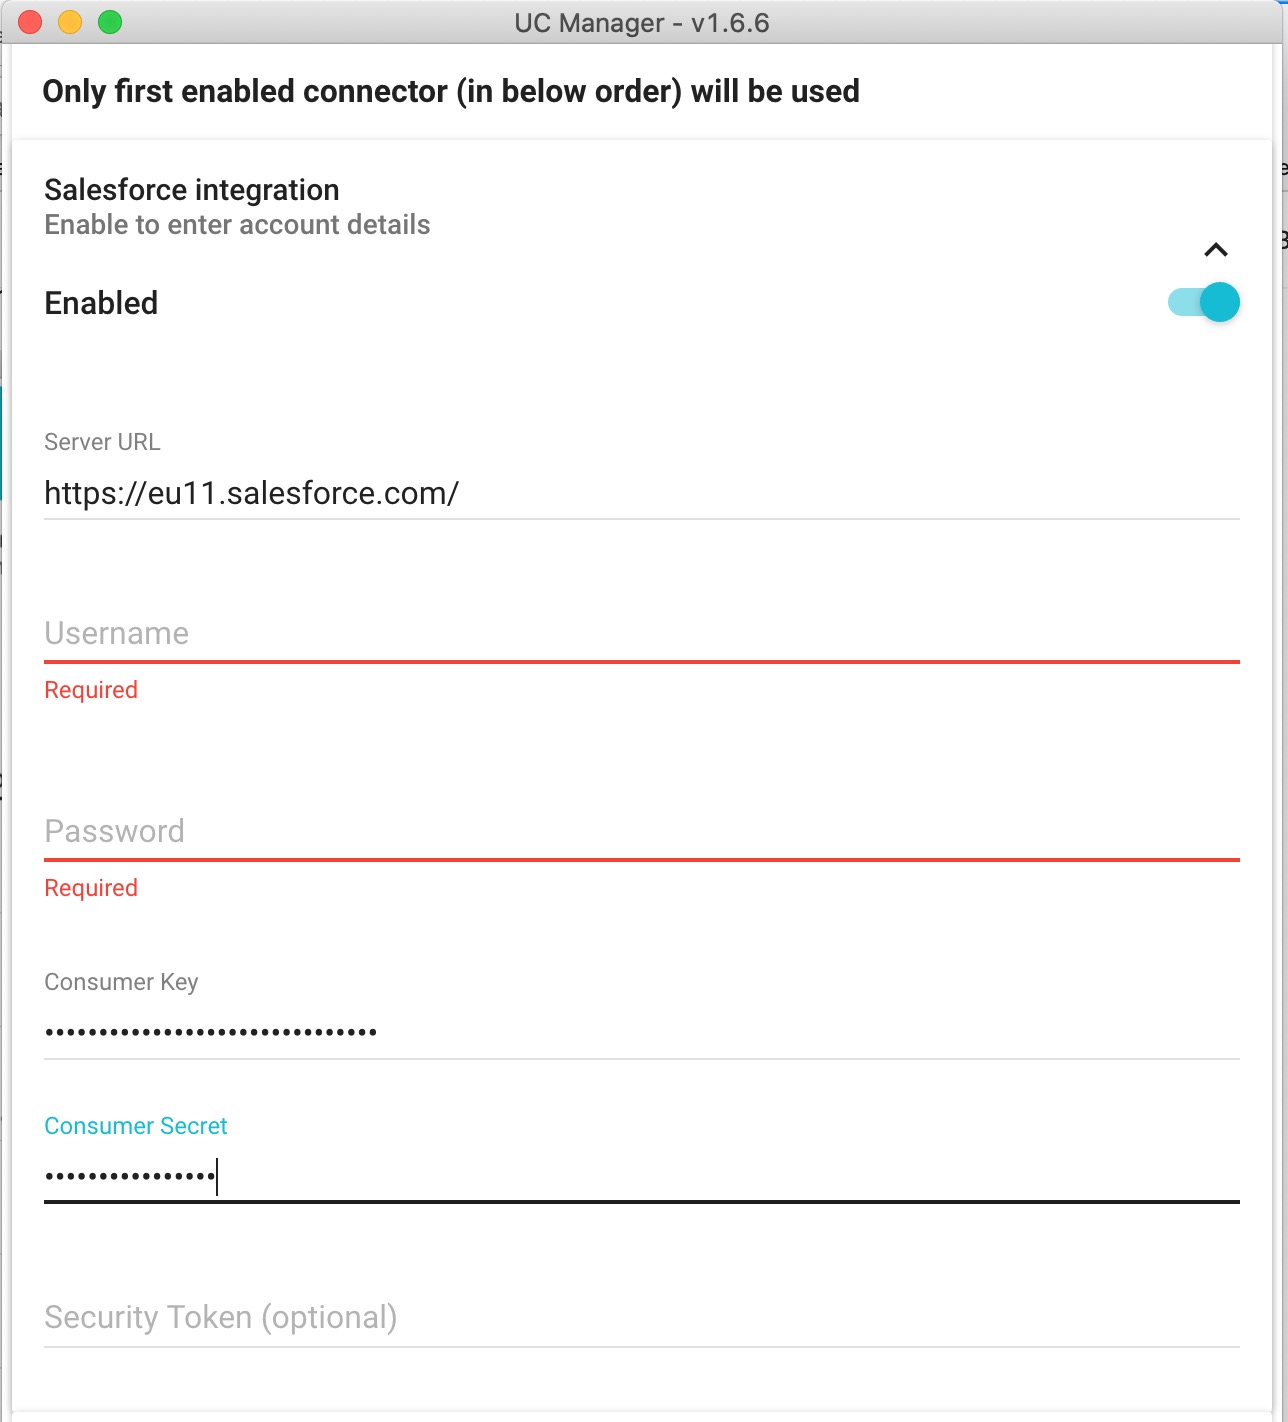
In UC Manager > settings > connectors tab, tab the switch to enable Salesforce integration and enter the following details:
- salesforceInstanceUrl: your Salesforce instance URL (eg.: https://eu11.salesforce.com/)
- salesforceConsumerKey: value taken from a Salesforce connected app for UCManager
- salesforceConsumerSecret: value taken from a Salesforce connected app for UCManager
- salesforceSecurityToken: value is account specific, optional if the IP on which you configure UCManager is whitelisted in
- Salesforce (added to the trusted IP ranges), else value for account used with UCManager should be used
- salesforceUsername: Salesforce account email for UCManager
- salesforcePassword: password for the salesforce username