We have included two wizards in the PBX to help you to get started quickly. Afterwards all settings can be changed if you want to, so don’t worry about settings you wouldn’t be able to change later.
There may be certain options you’d like to configure that are not mentioned in the manual. When his happens keep to the provided defaults unless you know what you are doing. A few undescribed options could exist but will only used in very rare cases.
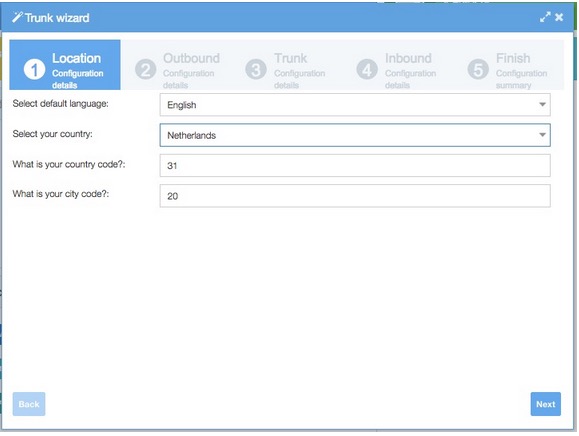
System set up
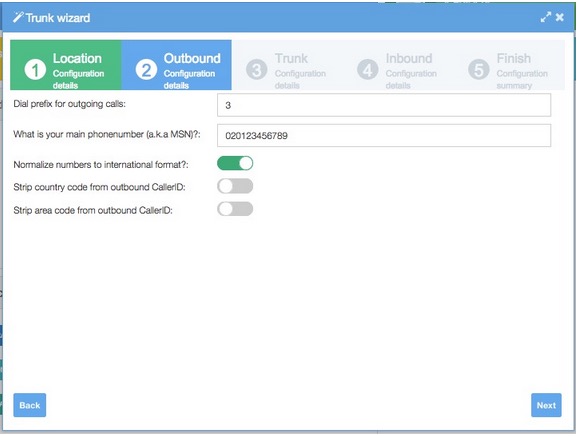
Use the system set up for the initial use. It will help you to set up a SIP trunk and allows you to make outbound calls. If you provided the inbound number in the correct format, you can make an inbound call. But if there are no phones configured it will be linked to an echo test.
This wizard helps you with a minimum set up for testing purposes. For day to day production we recommend to also make sure the Firewall and the Intrusion detection system is configured according the requirements of your company.
The city or area code must be entered without the preceeding zero;
If you do not want a prefix it can be changed after in outbound trunks. The MSN number is equal to your inbound number (number other will dial to call you)
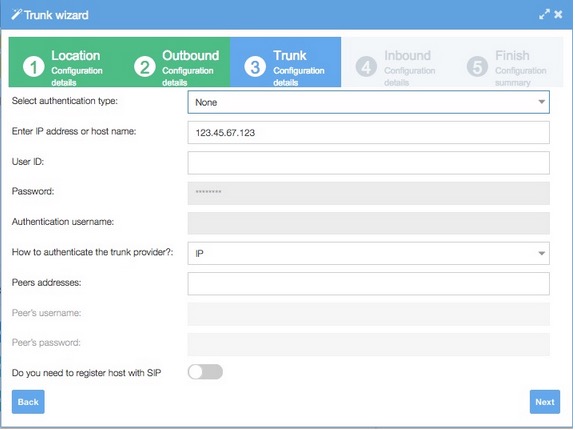
- Authentication is most of the time password based for SIP
- Check the register with SIP provider, this results in your IP address to be registered with your SIP provider so they know where to send the inbound traffic to.
- Keep the “from username” to its default unless instructed by your SIP provider.
- leave authentication name empty unless instructed by your SIP provider.
- Usually one does not authenticate the SIP provider. If you can and want you can choose in which way
- You can safely check the NAT support box even if you do not have it
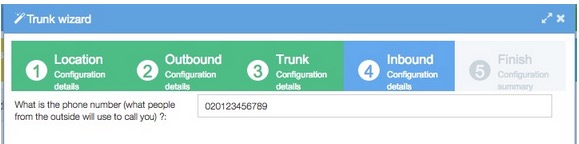
Enter your inbound number.
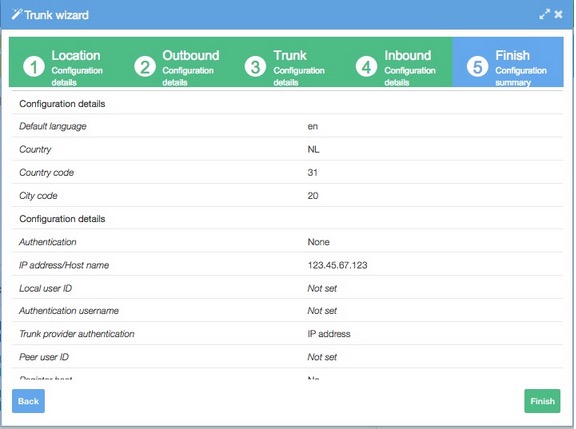
Check your setting and confirm
Phone user
With this phone set up you can quickly set up phones. This consists of three parts: IP phone, extension and Phone user. You do not have to use a PBX user but it does enable more functions if you do.
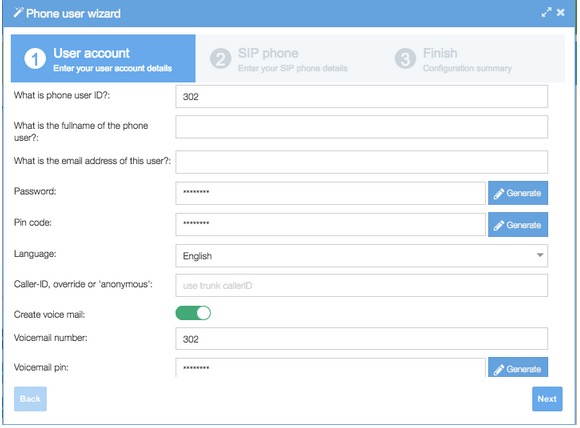
- The Phone ID sets the extension and the username (a.k.a. internal phone number)
- GUI password is used to enter the end user interface with the Phone ID as log on name
- PIN code is used to enter mail box and for hot desking
Please note that when a user is created with a voicemailbox then “Attach sound file” is enabled by default. If you do not provide an e-mail address or if you assign the voicemailbox to a different user then then voicemail messages to this box can’t be sent due to missing a destination address and the voicemail message will be deleted.
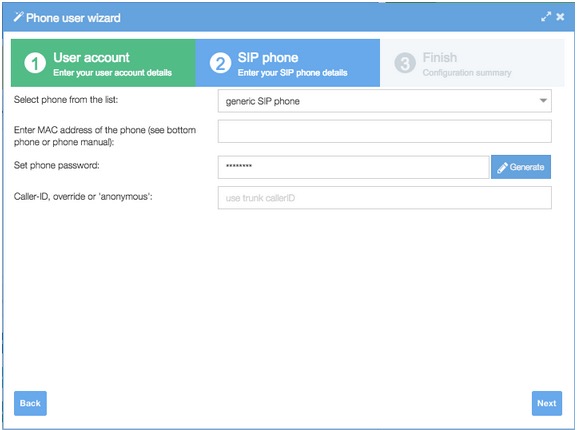
Select phone type for automatic configuration. Choose generic if your phone is not listed.
Phone password is used for the IP phone to authenticate itself to the PBX.
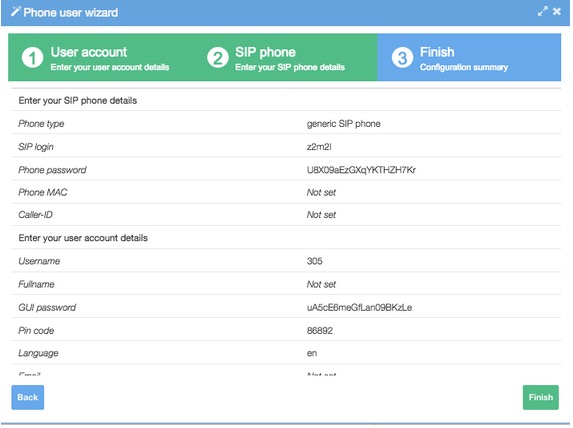
Check your settings and press Finish.