You can simply spin up another cloud vpbx for each customer, but there are cases where you may prefer setting up multiple small sites into one vpbx with their own SIP trunks for billing. It’s possible to do this by creating user groups and assigning users, phones and trunks to these groups.
There are a couple of things to keep in mind when you do this;
- Only PBX users that are not part of a group have all available PBX features. A phone and/or user that is part of a user group does not have all features available, e.g. you will not be able to use the ACD. You will be limited to:
- IVR
- Call groups
- Phone book for personal use
- Custom sounds
- Music on hold
- Time rules
- Switches (only if set on a condition in the extension of a user)
- Extra attention is required for caller-id and trunk settings.
- The users sharing a group can only see and dial other members of the same group.
- Providing access to the user interface for end-users is not recommended.
When initiating an outbound call, the phone is forced to use a specific outbound trunk, which enables you to register all calls to one account for billing purposes. For the end-user there is no need to use dial prefixes. There is no limit to the number of trunks that you can define.
Inbound calls are directed to whatever rule is used. When you made a rule to call an external number, make sure you set the outbound trunk to be as well.
Example setup
We are going to set up two groups, each with two phones.
- Set up two trunks in Communication → Trunks
- Create a plan in Dial Plan → Outbound plan. If you want to influence the outbound routing, you can use more than one plan. For simplicity this is not covered in this article. It is not strictly necessary to create a new plan for each trunk.
- Create outbound entries in Dial Plan → Outbound. Note: it is not possible to have an outbound entry with an empty value prefix and 0 as prefix, as these are are mutually exclusive. In this example we make an outbound entry with prefix 1 and prefix 2.
- Go to communication → Phones and create 4 phones.
- In the tab “additional” select an outbound trunk. Leave the prefix empty and select an outbound plan. Make sure two phones have the same trunk.
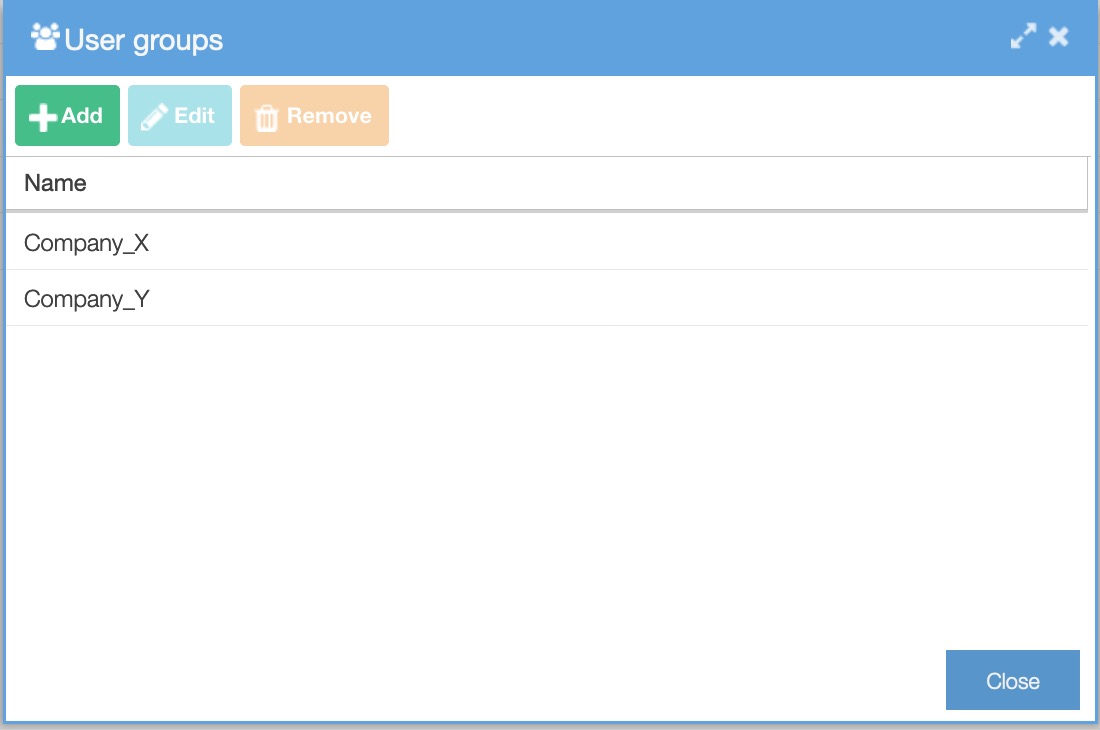
- Go to system→ Users and click button ‘User groups’. Create two user groups; each group will hold two PBX users.
- Still in system→ Users click the button ‘Add’.
- Create four users; to make things easier, make the user id the same number as the extension.
- Open the user, open the tab “phones” and set a personal phone.
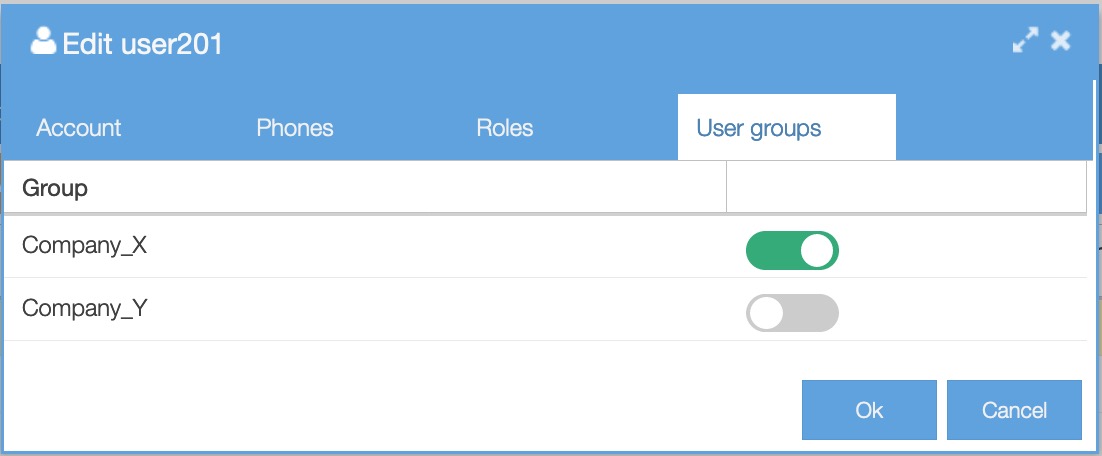
- Open the tab “user groups” and select Company_X for two users and Company_Y for the other two users.

Important: If a trunk is to be assigned to a phone, then all information that normally is entered into the dialplan/outbound prefix configuration, must be set for the phone too, as the outbound prefix configuration is completely bypassed in that scenario. E.g. set the callerid in Communication/Phones, or a phone will not be able to call outbound.