In Services/Custom sounds you can select, upload or record the sound files used in IVRs, Inbound or Extensions. The sound file can be assigned to user groups so you can make actions and dial plans specific to a user group.
Keep in mind that music files use a lot of disk space. This is especially relevant for the standalone PBX without hard disk storage. We strongly advise to monitor storage space status.
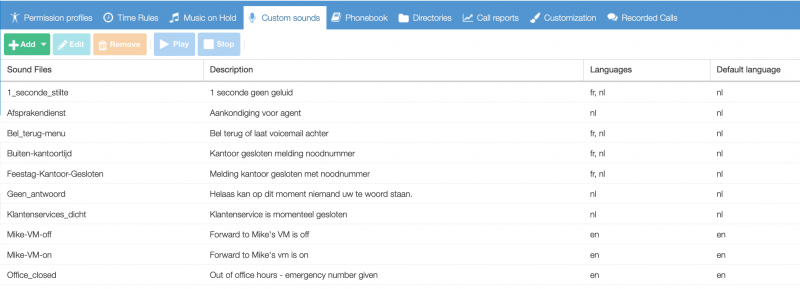
If you click on Add you can upload or record sound files or messages. With the Play button you can listen to a selected sound file. You need the Flash plugin otherwise you do not hear any sound.
Sound file upload
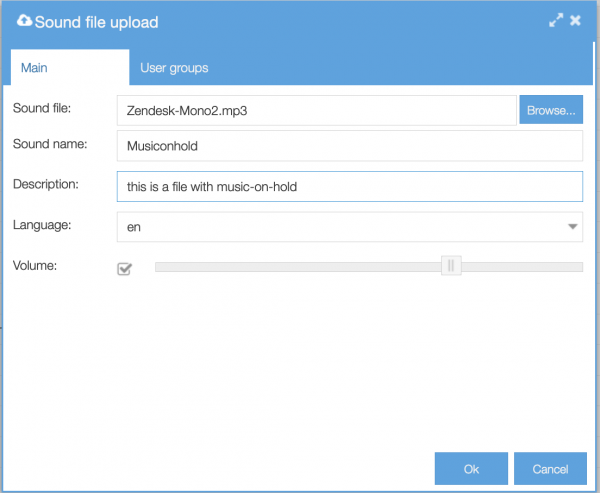
- Sound file: sound file to select with your browser.
- Sound name: label that will be visible in selection lists
- Description: free text field
- Language: give a language tag to the sound file. This allows you to automatically select a specific language in your IVR or when you present a sound file based on the callerid of the incoming call
- Volume: if needed adjust the volume level during import, the default works well in most cases
Record message

- Step 1 Record: read-only field with instructions.
- Step 2 Verify: read-only field with instructions. If you are sure the sound/message is recorded perfectly then you can skip this step.
- Step 3 Save: read-only field with instructions
- Sound name: label that will be visible in selection lists
- Description: free text field
- Language: give a language tag to a sound file. This allows you to automatically select a specific language in your IVR or when you present a sound file based on the callerid of the incoming call
Please note that recordings are limited to 60 seconds. If you would like to record longer messages, you can split your message in two separate recordings to be played one after the other, or record a message on your pc and upload it to the pbx.
Adding an additional language version
You can upload more than one language version per file. This way you can e.g. build just one IVR for all languages, instead of multiple to fit each language. It’s a time saver and it keeps your dial plan much easier to oversee.
To add language versions select an existing soundfile and click on ‘edit’ button. Now you can Upload a new sound or Record a new message and tag it with a language. After you have clicked OK you will see the two language versions:
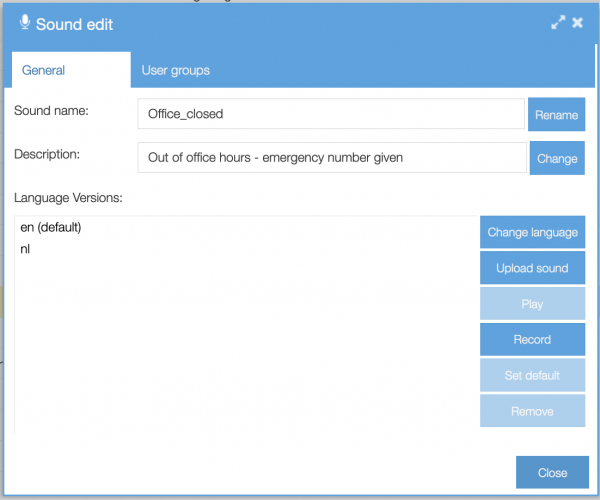
- Upload sound: upload mp3 or wav file
- Play: listen selected sound file
- Record: record your own sound
- Set default: set which language will be default for this soundfile
- Remove: remove selected sound
- Change language: change language for selected sound.